require(ellmer)
require(ollamar)
require(shinychat)
require(shiny)
require(ragnar)
require(bslib)Session 4: Chatbot user interface
Overview
In this session we continue developing chatbots in R, with a focus on user interface and usability. We begin with a simple chatbot and then gradually improve it by adding a welcome message, a custom assistant icon, a more attractive colour scheme, and a disclaimer.
Packages
1. Initial chatbot
This session focuses on user interface and usability issues for chatbots. We start with a simple example and then polish it up. For this experiment we use a simple chatbot without retrieval augmented generation, but the same design ideas also apply to the RAG models from the previous session.
We begin by setting up a basic interface using chat_ui() from the shinychat package.
ui <- bslib::page_fluid(
  chat_ui("chat")
)
Next we define a server function with an OpenAI-powered model.
server <- function(input, output, session) {
  chat <- ellmer::chat_openai(
    model = "gpt-4o",
    system_prompt = "You are an expert on nature in Singapore, especially ecosystem services and natural capital."
  )

  observeEvent(input$chat_user_input, {
    stream <- chat$stream_async(input$chat_user_input)
    chat_append("chat", stream)
  })
}
To launch the app, we would run:
shinyApp(ui, server)Example appearance of the initial chatbot:
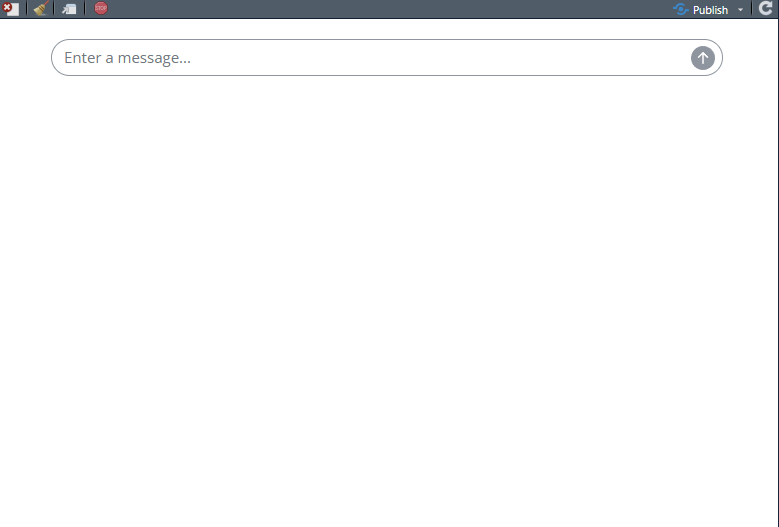 Well, it looks like a chatbot, but it is pretty sparse!
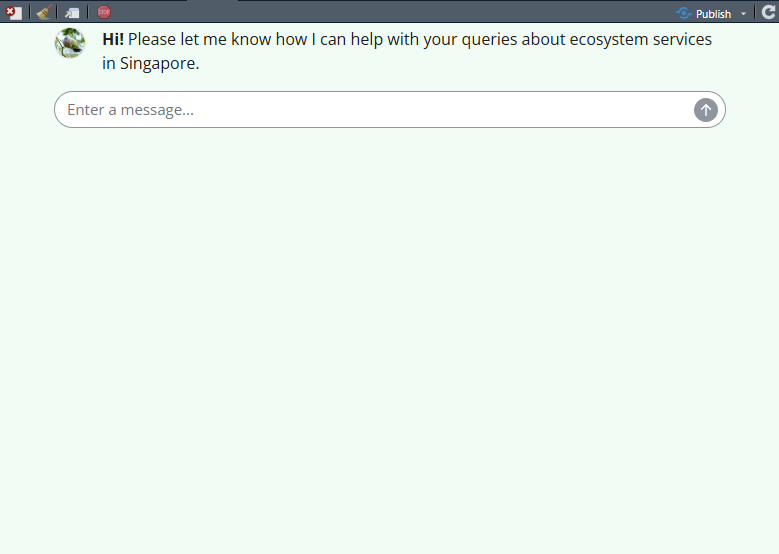
2. Adding a welcome message
A welcome message can be added when creating the user interface. This helps orient the user and makes the chatbot feel more approachable.
ui <- bslib::page_fluid(
  chat_ui(
    "chat",
    messages = list(
      "**Hi!** Please let me know how I can help with your queries about ecosystem services in Singapore."
    )
  )
)
The server code stays the same.
server <- function(input, output, session) {
  chat <- ellmer::chat_openai(
    model = "gpt-4o",
    system_prompt = "You are an expert on nature in Singapore, especially ecosystem services and natural capital."
  )

  observeEvent(input$chat_user_input, {
    stream <- chat$stream_async(input$chat_user_input)
    chat_append("chat", stream)
  })
}
To launch the app, we would run:
shinyApp(ui, server)Example appearance with a welcome message:
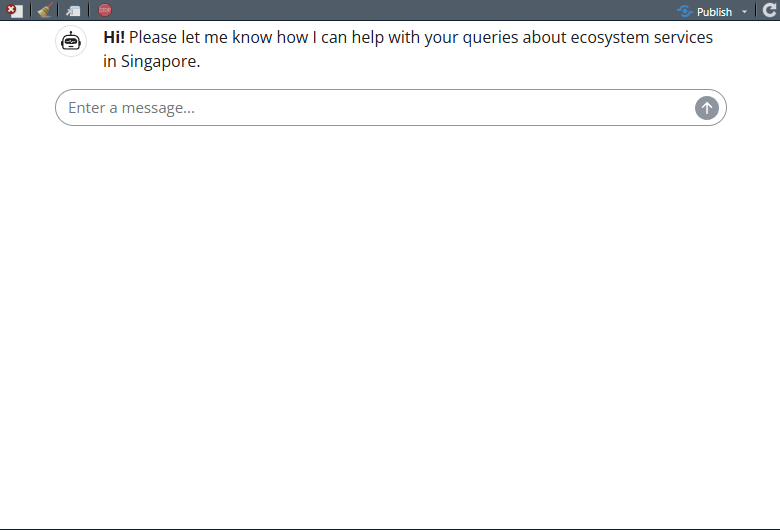 Much more welcoming!
3. Adding a custom icon
Custom icons can also be added when creating the interface. In Shiny, images must usually be served from a folder called www in the same folder as the app.
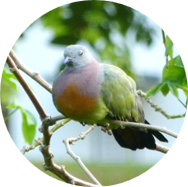
In this example, the chatbot is about Singapore, so we use a photo of a local bird: a Pink-necked Green Pigeon (Treron vernans). The original photo was taken by Fung Tze Kwan, a brilliant ecologist at the National University of Singapore.
You can download this beautiful pigeon here.
addResourcePath("assets", file.path(getwd(), "www"))We can then define the interface with a custom assistant icon.
ui <- page_fillable(
  chat_ui(
    "chat",
    messages = list(
      list(
        role = "assistant",
        content = "**Hi!** Please let me know how I can help with your queries about ecosystem services in Singapore."
      )
    ),
    icon_assistant = tags$img(
      src = "assets/pngp.png",
      width = "32px",
      height = "32px",
      style = "border-radius: 50%; object-fit: cover;"
    )
  )
)
The server is unchanged apart from using the same model and prompt.
server <- function(input, output, session) {
  chat <- ellmer::chat_openai(
    model = "gpt-4o",
    system_prompt = "You are an expert on nature in Singapore, especially ecosystem services and natural capital."
  )

  observeEvent(input$chat_user_input, {
    stream <- chat$stream_async(input$chat_user_input)
    chat_append("chat", stream)
  })
}
To launch the app, we would run:
shinyApp(ui, server)Example appearance with a custom icon:
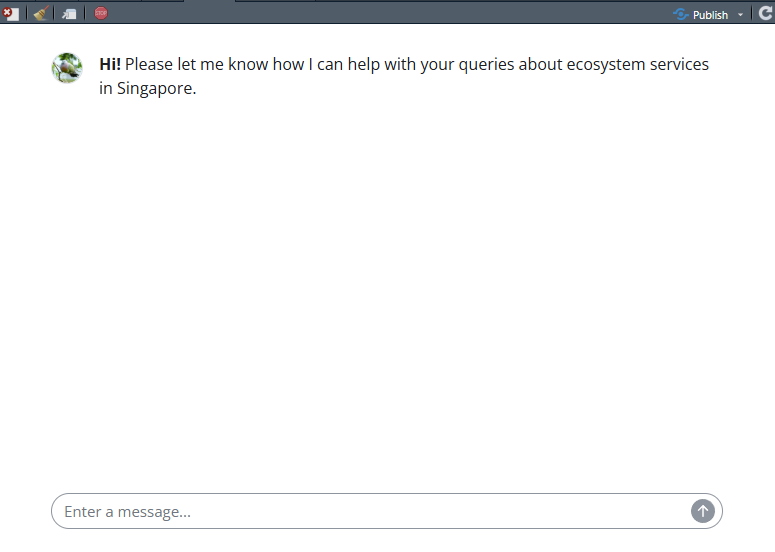 Such a cute pigeon, makes all the difference to the vibe.
4. Changing the colour scheme
We can also customise the colour scheme. This requires adding some HTML and CSS styling, so it is a little more involved than the previous changes.
The colours are given as hexadecimal colour values.
addResourcePath("assets", file.path(getwd(), "www"))

ui <- bslib::page_fluid(
  tags$style(HTML("
    /* Whole page background */
    body {
      background-color: #f0fdf4;
    }

    /* Assistant message bubble */
    #chat .shinychat-assistant .shinychat-message-body {
      background-color: #bbf7d0;
    }

    /* User message bubble */
    #chat .shinychat-user .shinychat-message-body {
      background-color: #dbeafe;
    }
  ")),

  chat_ui(
    "chat",
    messages = list(
      list(
        role = "assistant",
        content = "**Hi!** Please let me know how I can help with your queries about ecosystem services in Singapore."
      )
    ),
    icon_assistant = tags$img(
      src = "assets/pngp.png",
      width = "32px",
      height = "32px",
      style = "border-radius: 50%; object-fit: cover;"
    )
  )
)
The server code remains the same.
server <- function(input, output, session) {
  chat <- ellmer::chat_openai(
    model = "gpt-4o",
    system_prompt = "You are an expert on nature in Singapore, especially ecosystem services and natural capital."
  )

  observeEvent(input$chat_user_input, {
    stream <- chat$stream_async(input$chat_user_input)
    chat_append("chat", stream)
  })
}
To launch the app, we would run:
shinyApp(ui, server)Example appearance with a customised colour scheme:
 It is amazing how a spot of paint can make something feel much mpore user friendly. This has real “90’s ecology website” appeal now.
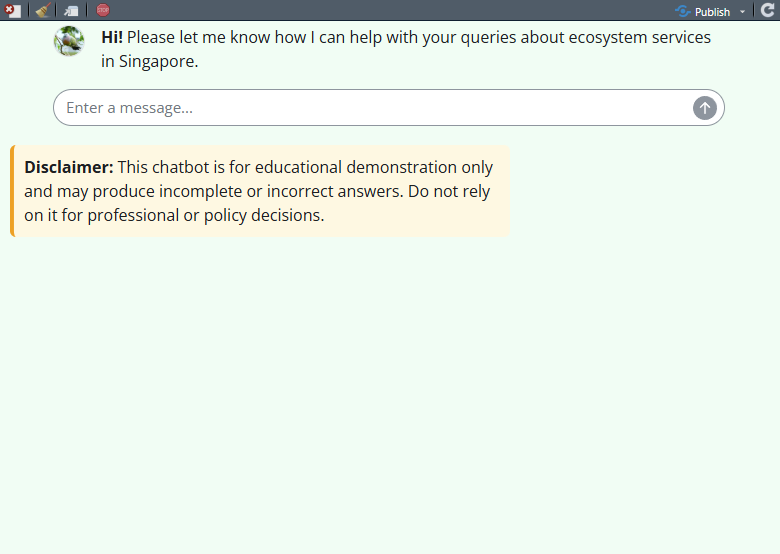
5. Adding a disclaimer
Because chatbots can produce incomplete or incorrect answers, it is often a good idea to include a disclaimer. In this example we add a small warning box below the chatbot.
disclaimer_text <- "This chatbot is for educational demonstration only and may produce incomplete or incorrect answers.
Do not rely on it for professional or policy decisions."
We then incorporate the disclaimer into the user interface.
addResourcePath("assets", file.path(getwd(), "www"))

ui <- bslib::page_fluid(
  tags$style(HTML("
    /* Whole page background */
    body {
      background-color: #f0fdf4;
    }

    /* Assistant message bubble */
    #chat .shinychat-assistant .shinychat-message-body {
      background-color: #bbf7d0;
    }

    /* User message bubble */
    #chat .shinychat-user .shinychat-message-body {
      background-color: #dbeafe;
    }
  ")),

  chat_ui(
    "chat",
    messages = list(
      "**Hi!** Please let me know how I can help with your queries about ecosystem services in Singapore."
    ),
    icon_assistant = tags$img(
      src = "assets/pngp.png",
      width = 32,
      height = 32,
      style = "border-radius: 50%;"
    )
  ),

  div(
    style = "
      margin-top: 15px;
      padding: 10px;
      border-left: 4px solid #f59e0b;
      background-color: #fff8e1;
      border-radius: 6px;
      max-width: 500px;
    ",
    strong("Disclaimer: "),
    disclaimer_text
  )
)
The server code is unchanged.
server <- function(input, output, session) {
  chat <- ellmer::chat_openai(
    model = "gpt-4o",
    system_prompt = "You are an expert on nature in Singapore, especially ecosystem services and natural capital."
  )

  observeEvent(input$chat_user_input, {
    stream <- chat$stream_async(input$chat_user_input)
    chat_append("chat", stream)
  })
}
To launch the app, we would run:
shinyApp(ui, server)Example appearance with a disclaimer:
 In a similar way, author credits or links to institutional or personal web pages could be added to the interface. For a more fully fleshed-out design, please check out our prototype chatbot designed to help farmers understand climate change risks and opportunities in the Selwyn District of New Zealand.
Summary
In this session we focused on the user experience of chatbots. Starting from a very simple interface, we progressively improved the design by adding a welcome message, a custom icon, a more appealing colour scheme, and a disclaimer. These changes do not alter the underlying language model, but they can make a major difference to usability and trust.